

Table of contents
Step-by-Step Guide To Connect Tazos Wallet
In this tutorial, we will guide you through the process of adding a Tezos Wallet Connect button to your website. We will cover the necessary steps, including creating a new Tezos project, writing a simple smart contract, compiling and deploying the contract, creating a frontend page for your dapp, and finally, integrating the Tezos wallet connection and interacting with the smart contract.
Prerequisites:
To follow this tutorial, you should have a basic understanding of web development, JavaScript, and familiarity with Tezos blockchain and smart contracts.
Step 1: Creating a New Tezos Project
To get started, let's set up a new Tezos project. We will be using JavaScript libraries such as Taquito.js, Beacon, and Temple. Open your terminal and follow these steps:
- Create a new directory for your project:
mkdir tezos-dapp
cd tezos-dapp
- Initialize a new npm project:
npm init -y
- Install the required dependencies:
npm install @taquito/taquito @taquito/beacon-wallet @taquito/temple-wallet
Step 2: Writing a Simple Smart Contract
For this tutorial, we will use the SmartPy language to write our smart contract. SmartPy provides an easy-to-use interface for writing Tezos contracts. Alternatively, you can also use Ligo if you're comfortable with it. Let's create a simple example contract.
- Create a new file named
contract.py:
touch contract.py
- Open
contract.pyin your preferred code editor and add the following code:
import smartpy as sp

class SimpleContract(sp.Contract):
    def __init__(self):
        self.init(value=0)

    @sp.entry_point
    def increment(self, params):
        self.data.value += params

@sp.add_test(name="test")
def test():
    c = SimpleContract()
    scenario = sp.test_scenario()
    scenario += c
    scenario += c.increment(5).run(sender=sp.address("tz1..."))
    scenario.verify(c.data.value == 5)

sp.add_compilation_target("simple_contract", SimpleContract())
- Save the file.
Step 3: Compiling the Smart Contract
smartpy-cli compile contract.py path/to/compiled/contract.tz
Make sure to replace path/to/compiled/contract.tz with the desired path and filename for your compiled contract.
Step 4: Deploying the Smart Contract
To deploy the compiled contract, you can use various tools such as Temple Wallet, Beacon, or Taquito.js.
For Temple Wallet:
Install the Temple Wallet extension for your preferred browser.
Create a new wallet or import an existing one.
Obtain some testnet XTZ from a faucet if you don't have any.
Open your project's frontend page (we'll create it in the next step).
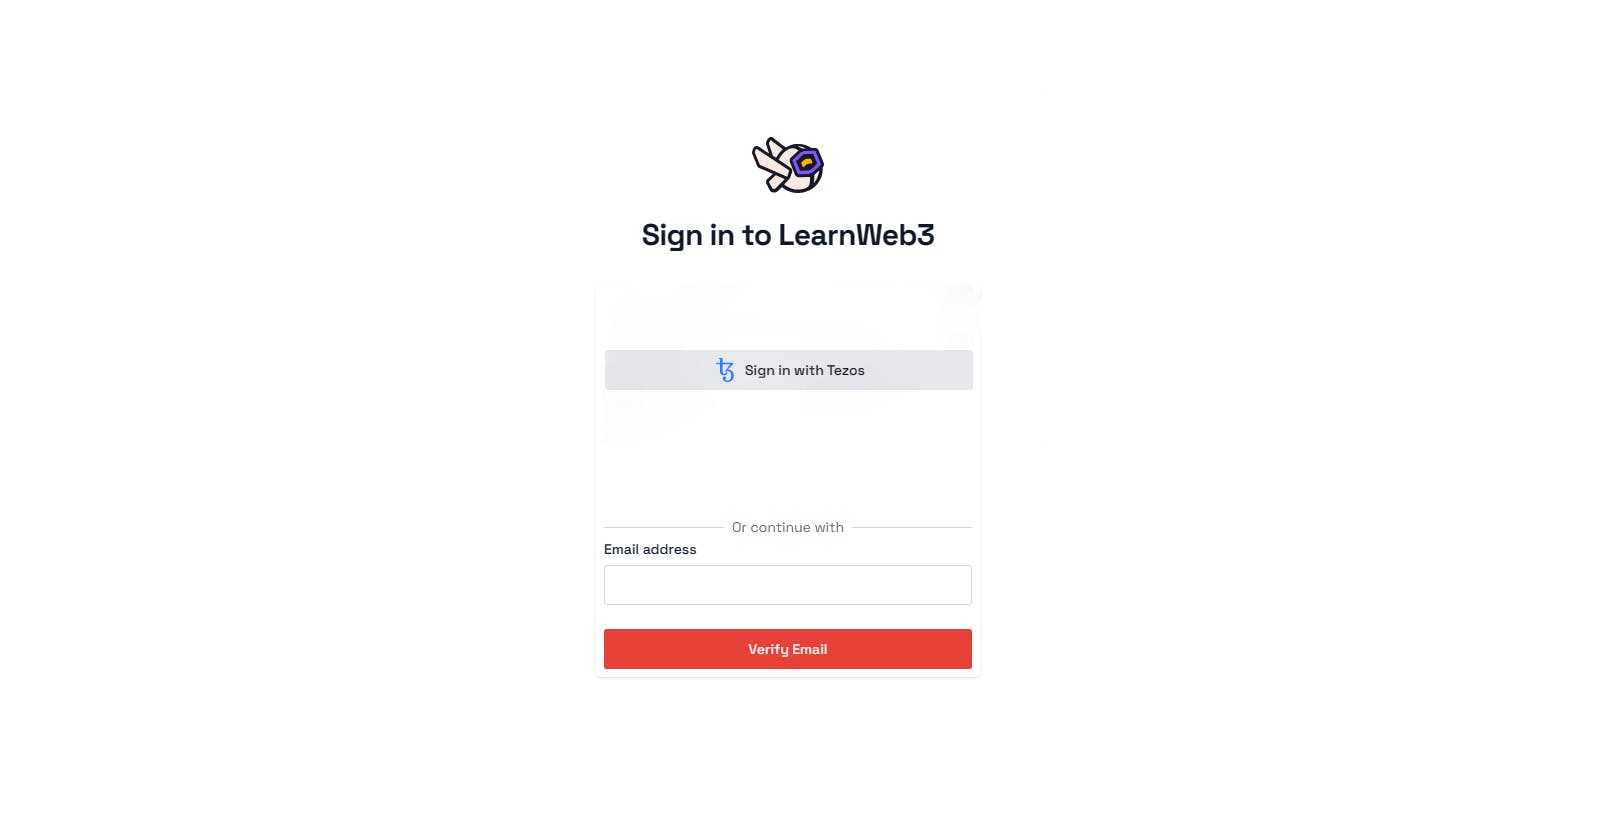
Click on the Tezos Wallet Connect button to connect your wallet to the dapp.
Deploy the smart contract by following the documentation provided by Temple Wallet.
For Beacon:
Create a new wallet or import an existing one.
Obtain some testnet XTZ from a faucet if you don't have any.
Open your project's frontend page.
Click on the Tezos Wallet Connect button to connect your wallet to the dapp
Step 5: Creating a Frontend Page for Your Dapp
- Create a new HTML file named
index.htmlin your project directory:
touch index.html
- Open
index.htmlin your preferred code editor and add the following code:
<!DOCTYPE html>
<html>
<head>
    <title>Tezos Dapp</title>
    <script src="https://cdn.jsdelivr.net/npm/axios/dist/axios.min.js"></script>
    <script src="https://unpkg.com/@taquito/taquito"></script>
    <script src="https://unpkg.com/@taquito/beacon-wallet"></script>
</head>
<body>
    <h1>Tezos Dapp</h1>

    <div>
        <button id="connectWallet">Connect Wallet</button>
        <button id="deployContract">Deploy Contract</button>
        <button id="incrementValue">Increment Value</button>
        <div id="contractAddress"></div>
        <div id="contractValue"></div>
    </div>

    <script>
        // Initialize Taquito and Beacon Wallet
        const Tezos = new taquito.TezosToolkit('https://api.tez.ie/rpc/granadanet');
        const wallet = new BeaconWallet.BeaconWallet({ name: 'Tezos Dapp' });

        // Connect Wallet button click event
        document.getElementById('connectWallet').addEventListener('click', async () => {
            try {
                await wallet.requestPermissions({ network: { type: 'granadanet' } });
                Tezos.setWalletProvider(wallet);
                alert('Wallet connected successfully!');
            } catch (error) {
                console.error('An error occurred while connecting wallet:', error);
            }
        });

        // Deploy Contract button click event
        document.getElementById('deployContract').addEventListener('click', async () => {
            try {
                const contract = await Tezos.wallet.at('path/to/compiled/contract.tz');
                const operation = await contract.originate({ storage: 0 });
                await operation.confirmation();
                const contractAddress = operation.contractAddress;
                document.getElementById('contractAddress').textContent = `Contract Address: ${contractAddress}`;
                alert('Contract deployed successfully!');
            } catch (error) {
                console.error('An error occurred while deploying contract:', error);
            }
        });

        // Increment Value button click event
        document.getElementById('incrementValue').addEventListener('click', async () => {
            try {
                const contract = await Tezos.wallet.at('path/to/contractAddress');
                const operation = await contract.methods.increment(1).send();
                await operation.confirmation();
                const contractValue = await contract.storage();
                document.getElementById('contractValue').textContent = `Contract Value: ${contractValue}`;
                alert('Value incremented successfully!');
            } catch (error) {
                console.error('An error occurred while incrementing value:', error);
            }
        });
    </script>
</body>
</html>
- Save the file.
Explanation:
The HTML file contains the necessary structure for your dapp's frontend. It includes buttons for connecting the wallet, deploying the contract, and incrementing the contract value. The script section initializes Taquito and Beacon Wallet, establishes the wallet connection, and defines the click event handlers for each button.
Make sure to replace 'path/to/compiled/contract.tz' in the deployContract event handler with the actual path and filename of your compiled contract. Similarly, replace 'path/to/contractAddress' in the incrementValue event handler with the actual deployed contract address.
Step 6: Integrating the Tezos Wallet Connect Button
Now that we have our frontend page ready, let's integrate the Tezos wallet connection using the wallet connect button.
Open
index.htmlin your code editor.Add the following code snippet inside the
<script>section, after the event listeners:
// Tezos Wallet Connect button click event
document.getElementById('connectWallet').addEventListener('click', async () => {
    try {
        const permissions = await wallet.client.requestPermissions();
        Tezos.setWalletProvider(wallet);
        alert('Wallet connected successfully!');
    } catch (error) {
        console.error('An error occurred while connecting wallet:', error);
    }
});
- Save the file.
Explanation:
The added code listens for a click event on the "Connect Wallet" button. Upon clicking, it requests permissions from the wallet using the requestPermissions() method and sets the Tezos wallet provider using setWalletProvider(). If the connection is successful, an alert is displayed.
Step 7: Interacting with the Smart Contract and Signing Transactions
With the Tezos wallet connected, we can now interact with our smart contract and sign transactions.
Open
index.htmlin your code editor.Add the following code snippet inside the
<script>section, after the event listeners:
// Deploy Contract button click event
document.getElementById('deployContract').addEventListener('click', async () => {
    try {
        const contract = await Tezos.wallet.at('path/to/compiled/contract.tz');
        const operation = await contract.originate({ storage: 0 });
        await operation.confirmation();
        const contractAddress = operation.contractAddress;
        document.getElementById('contractAddress').textContent = `Contract Address: ${contractAddress}`;
        alert('Contract deployed successfully!');
    } catch (error) {
        console.error('An error occurred while deploying contract:', error);
    }
});

// Increment Value button click event
document.getElementById('incrementValue').addEventListener('click', async () => {
    try {
        const contract = await Tezos.wallet.at('path/to/contractAddress');
        const operation = await contract.methods.increment(1).send();
        await operation.confirmation();
        const contractValue = await contract.storage();
        document.getElementById('contractValue').textContent = `Contract Value: ${contractValue}`;
        alert('Value incremented successfully!');
    } catch (error) {
        console.error('An error occurred while incrementing value:', error);
    }
});
- Save the file.
Explanation:
The added code handles the click events for the "Deploy Contract" and "Increment Value" buttons. It uses Taquito's functions to interact with the smart contract. The deployContract event handler deploys the contract using the originate() function, waits for confirmation, and displays the contract address. The incrementValue event handler increments the contract value using the increment() entry point and displays the updated value.
Step 8: Testing the Smart Contract
To test your smart contract, you can use various testing frameworks like SmartPy's test scenario or write custom tests using Taquito.
Open your terminal and navigate to your project directory.
Run the following command to execute the SmartPy test scenario:
smartpy-cli test contract.py
- Verify that the test passes without any errors.
Congratulations! You have successfully added a Tezos Wallet Connect button to your website and implemented the integration with a smart contract. You can now deploy the website to a web server and start interacting with your dapp using a Tezos wallet.
Note: Remember to replace the placeholder paths and addresses with the appropriate values specific to your project.